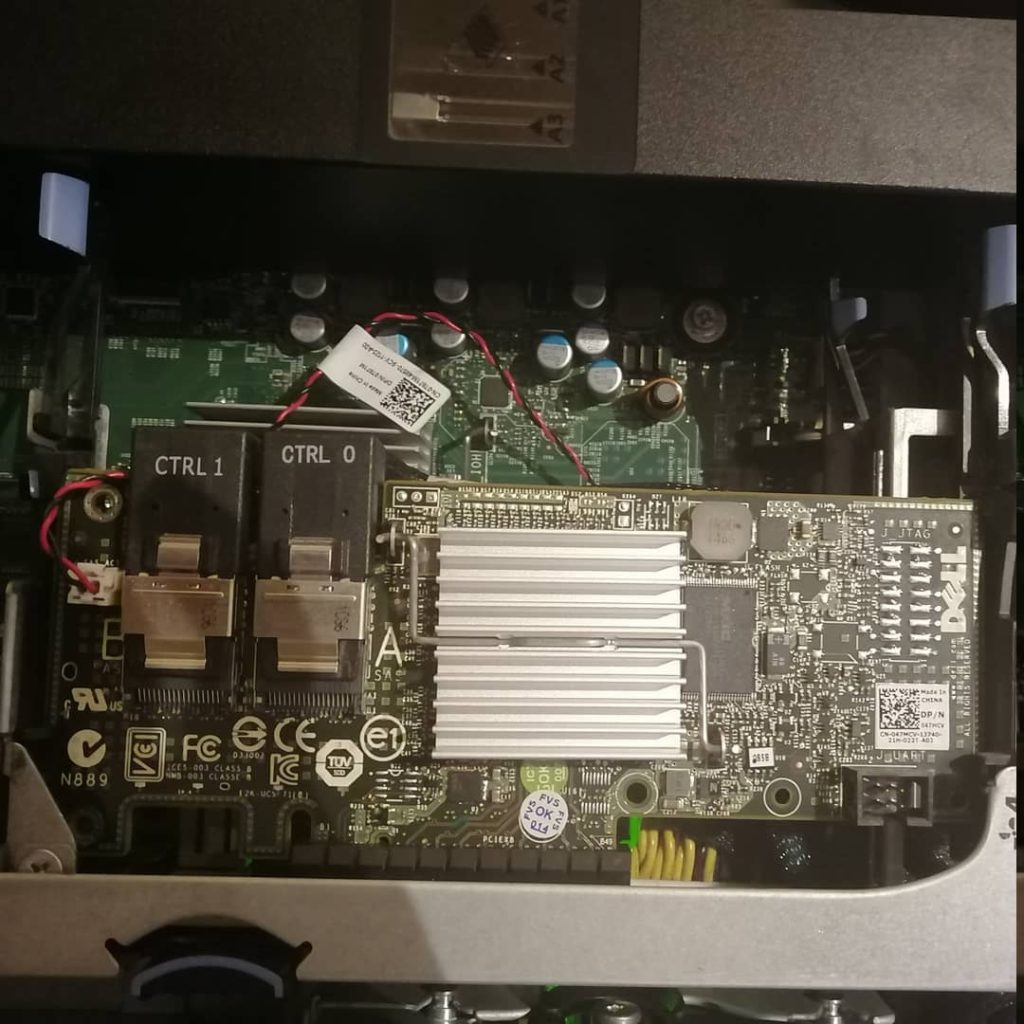
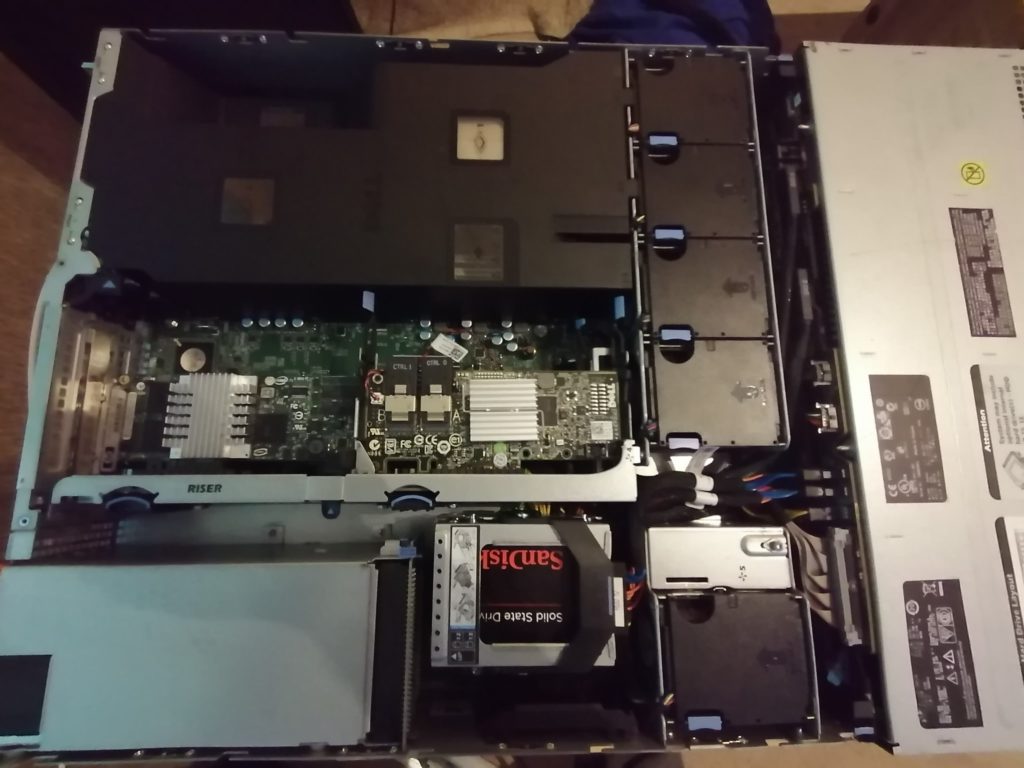
Howdy folks, So in this guide I am going to go through on how to crossflash a Dell H200 to IT Mode with Dell’s H200i Firmware so after the crossflash is finished you are able to use the card in the integrated slot on the R510, R610, R710. T610. In this guide we will be using FreeDOS and sas2flash to wipe the sbr and UEFI to write the firmware.. Files that are needed for the crossflash are the following. H200I.fw which is the Firmware with the integrated subsystem ID, 2118p7.bin. For the Legacy BIOS the following is needed mptsas2.rom and for the UEFI BIOS x64sas2.rom with both you are able to boot in Legacy and UEFI. On my 12 bay 510 I am booting via 12 and 13 with 2 Solid State Drives in a ZFS Mirror.
Note dont forget to backup the SAS Address on the SAS Controller!
Things you will need,
- USB Boot Stick I used a 8GB USB Stick
- Rufus which can be downloaded from here https://rufus.ie/en/
- A Computer that is either Legacy or UEFI. In this guide I used a Asrock FM2A75M-DGS (I like this Board because the SAS Controller don’t mess with the Memory Channels or Graphics). Some boards requires you to tape 4th and 5th Pins due to no Video output. This only happens when the SAS Controller is installed in the x16 Graphics Slot. Not all are affected
- Files for Legacy and UEFI Booting (Only if you plan to boot using the SAS Controler.)
- Files in this Guide can be download from here https://download.violetdragonsnetwork.co.uk/Dell/USB%20Files.zip
Lets Begin,
Open up Rufus and create a FreeDOS USB Boot then copy the contents of the Zip straight to the root of the Pen Drive, Once that is finished we will need to boot into the EFI Shell to back up the SAS Address Legacy users can use sas2flsh.exe instead of sas2flash.efi.
Once you are in the EFI Shell type the following to change to the root of the Pen Drive,
fs0:to view the contents type the following,
dirTo get our SAS Address type the following,
For UEFI
sas2flash.efi -c 0 -list
For Legacy
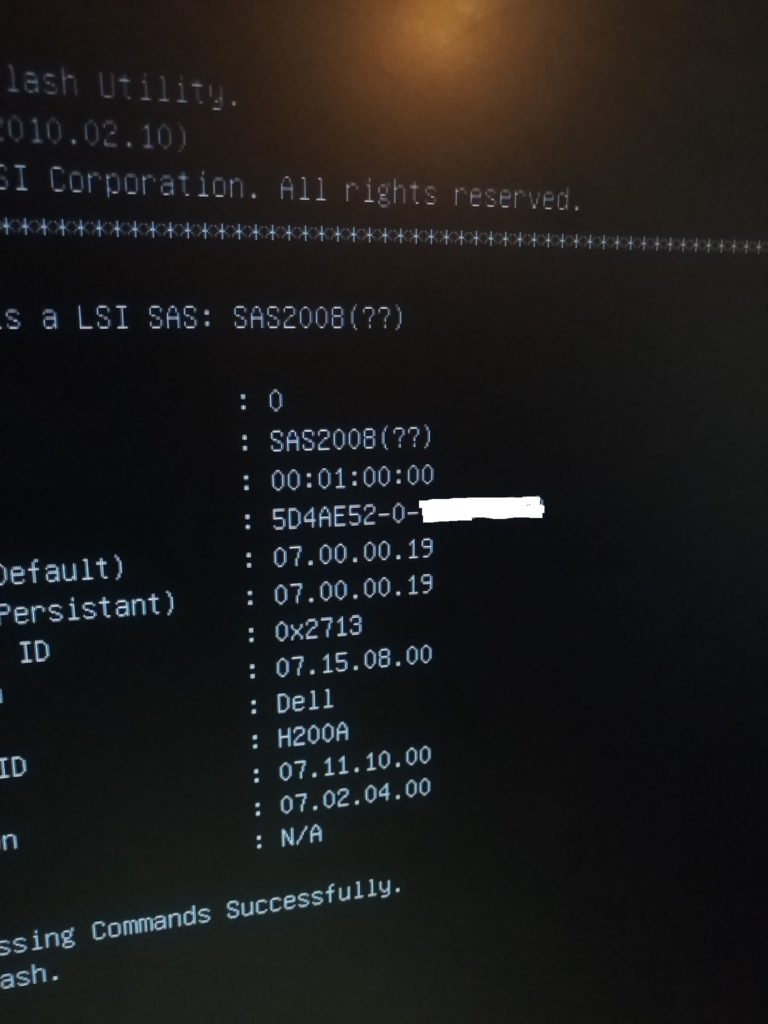
sas2flsh.exe -listallIt takes a second or two for sas2flash to detect the card. Take a picture of the screen or right down the SAS Address. Once you have the SAS Address we now need to boot into FreeDOS to use megarec to write a empty sbr.bin file.
In FreeDOS type the following,
megarec.exe -writesbr 0 sbrempty.binWait for the empty bin file to write to the card. Once that is done you should see a Success. Now type the following to clean the flash of the card,
megarec.exe -cleanflash 0Wait for megarec to finish you should also see a Success. Now Lets move onto the next part flashing the H200i firmware, boot back into the EFI Shell now. Change to the root of the Flash Drive,
fs0:To check the contents of the Flash Drive type the following,
dirTo flash the H200i firmware to the card type the following,
For UEFI
fs0:sas2flash.efi -o -f H200I.fw

For Legacy
sas2flsh.exe -o -f H200I.fw
Once the flash is complete you will notice that the Adaptor Reset Failed. (On my motherboard i found that after a few seconds it reset) You may have to reboot and boot back into the EFI Shell. Lets move onto the next.
Now we are going to flash the 2118p7.bin to the Card,
For UEFI
sas2flash.efi -o -f 2118p7.bin

For Legacy
sas2flsh.exe -o -f 2118p7.bin
You will need to press y on the Keyboard and hit Enter due to th NVDATA Mismatch. Do not worry about this.
Once the flash is complete you will notice that the Adaptor Reset Failed. (On my motherboard I found that after a few seconds it reset) You may have to reboot and boot back into the EFI Shell.
Next Step is to flash the IT Firmware as well as the Legacy BIOS and UEFI BIOS for Booting. Type the following,
For UEFI
sas2flash_p19.efi -o -f 2118it.bin -b mptsas2.rom -b x64sas2.rom

For Legacy
sas2flsh.exe -o -f 2118it.bin 2118it.bin -b mptsas2.rom -b x64sas2.rom
If you don’t want to flash the Legacy and UEFI Bios onto the card you can just type the following,
For UEFI
sas2flash_p19.efi -o -f 2118it.bin -b
For Legacy
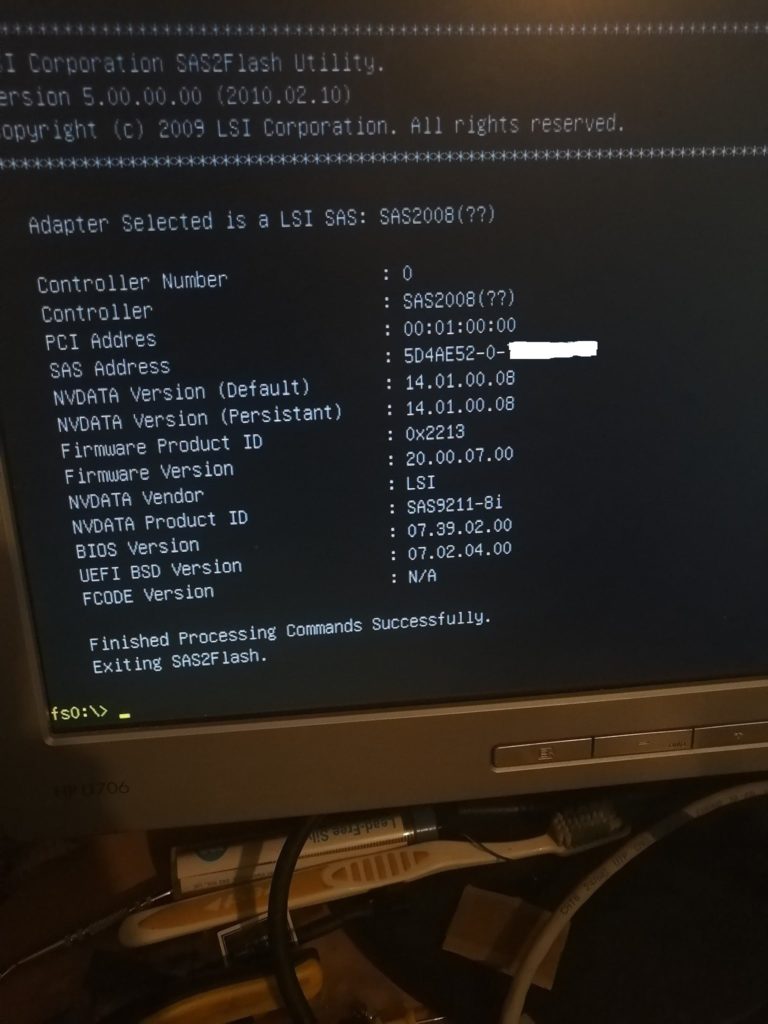
sas2flsh.exe -o -f 2118it.binYou will notice that after this step you will see that the Adapter Reset was Successful. Now the next step is to flash the SAS Address that you either took a picture of or write down earlier when we first started with this project. To write the SAS Address to the Card type the following,
For UEFI
sas2flash_p19.efi -o -sasadd (SASAddress Here)

For Legacy
s2fp19.exe -o -sasadd (SASAddress Here)
So we are done. You should have a Dell Perc H200 crossflashed to IT Mode with Dells Subsystem ID to make the card work in the Integrated Slot. Hope this guide helps. Enjoy.
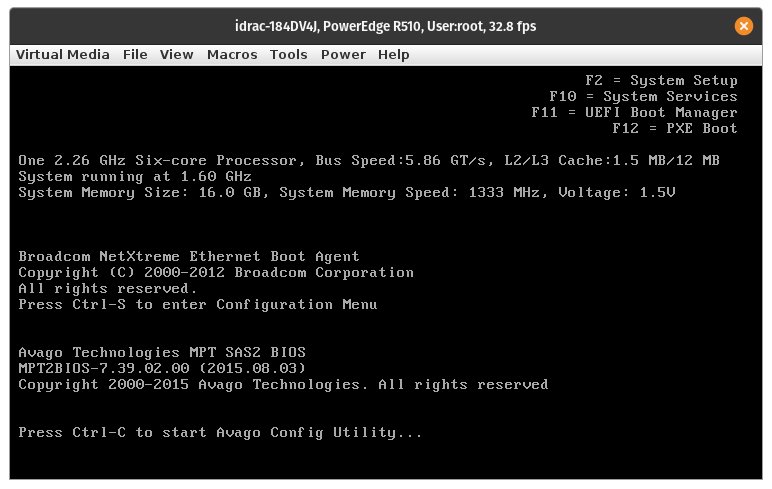
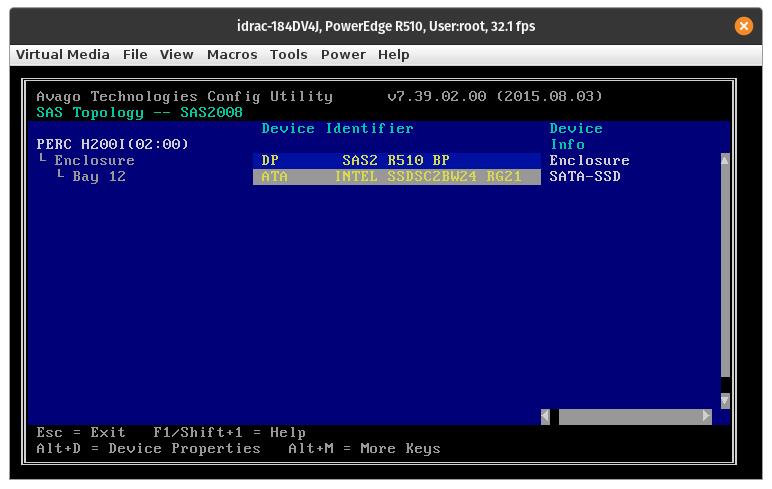
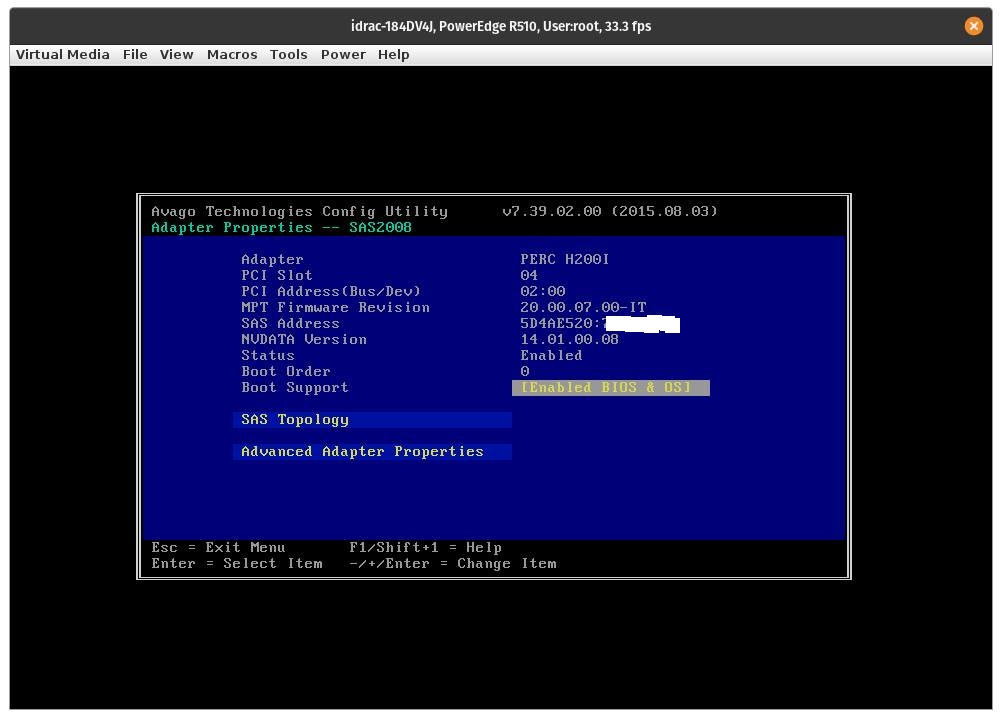
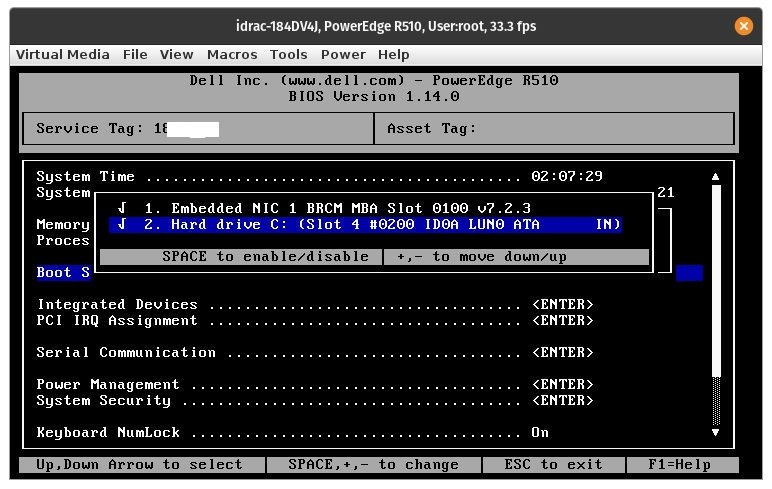
Here are some pictures of my R510 after the Flash.
Rich says:
Thanks for the writeup. I currently have a Dell H200i with the latest Dell firmware installed and booting from the integrated slot in my R710 server. I’d like to crossflash to IT mode to support the 8TB 4kn drives I just bought, which it currently doesn’t recognize. Since it already has the H200i firmware, do I just skip to “flash the 2118p7.bin to the Card”, or should I still follow all the previous steps?
Jack Bamford says:
Hi Thanks for the reply. As far as I know there isn’t a Size Capacity limit with the H200i, I have tested as far as 4TB Spinning Disks with my Setup.
Everything as follows in this guide should do the trick.
Are you running ZFS ? TrueNAS or Linux ? if so can you let me know what the output of smartctl -x /dev/Drive Identifier for example smartctl -x /dev/da0. If running Linux you will require to install smartmontools, sudo apt install smartmontools
Regards
Jack