
Ubuntu Desktop is a great Open Source Desktop Operating System I have been using both Ubuntu Desktop and Server since 2017 although i have been testing it for a long time in Virtual Machines before i made the switch. I like Open Source because you have freedom.
Please note that from 18.04+ there is no 32bit support so no i386 iso. For 32bit Machines Ubuntu 16.04 and 17.04 will work. Lets get started into the guide.
Things you will need,
- A Computer that is 64bit for Ubuntu 18.04+
- For 32bit Computers Ubuntu 16.04 and 17.04.
- A 4GB or Larger USB Boot Drive.
- To create a USB Boot Stick Please follow https://www.violetdragonsnetwork.co.uk/?p=1025
First thing we need to do is configure the BIOS to Boot from USB, there are many different ways to do this depending on your machine it can be different keys per manufacturer. Please note that with some Desktops and Laptops you require to enter Windows Advanced Startup. If this is required on your machine then go to Settings -> Update & Security -> Recovery then Advanced Startup and click on Restart now. Then choose Troubleshoot -> UEFI Firmware Settings. When in the BIOS i would recommend disabling Secure Boot to avoid problems.


Secure Boot on my Laptop is under Security,

Now we need to go to Boot and change Boot Priority to USB HDD but this also can be different per machine. This can also be seen as UEFI USB HDD on some machines.
I will put several Manufacturers below on how to enter the BIOS or Change Boot Menu which is known as Boot Sequence.
- ASRock: F2 or DEL
- ASUS: F2 for all PCs, F2 or DEL for Motherboards
- Acer: F2 or DEL
- Dell: F2 or F12
- ECS: DEL
- Gigabyte / Aorus: F2 or DEL
- HP: F10
- Lenovo (Consumer Laptops): F2 or Fn + F2
- Lenovo (Desktops): F1
- Lenovo (ThinkPads): Enter then F1.
- MSI: DEL for motherboards and PCs
- Microsoft Surface Tablets: Press and hold volume up button.
- Origin PC: F2
- Samsung: F2
- Toshiba: F2
- Zotac: DEL
On my Gigabyte motherboard there are two ways you can go into the Boot Menu using F12 or into the BIOS using Del -> BIOS Features then change Boot #1 but its easier to just use F12 to enter the Boot Menu,


Entering BIOS using Delete then BIOS Features then selecting UEFI: USB USB Hard Drive Method.

F12 for Boot Menu and Selecting UEFI: USB USB Hard Disk Method. This is the way i prefer and please note if you are booting in Legacy then the USB Boot Stick will get seen differently, mine gets seen as Sandisk. Now we just boot from the Pen Drive.

We have two options Try Ubuntu and Install Ubuntu we are going to choose Install Ubuntu in this Guide,
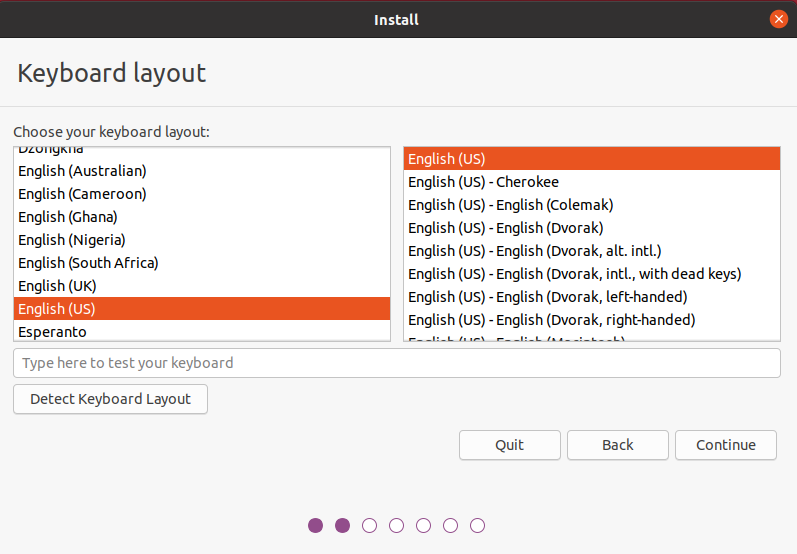
Choose your Language then Continue,
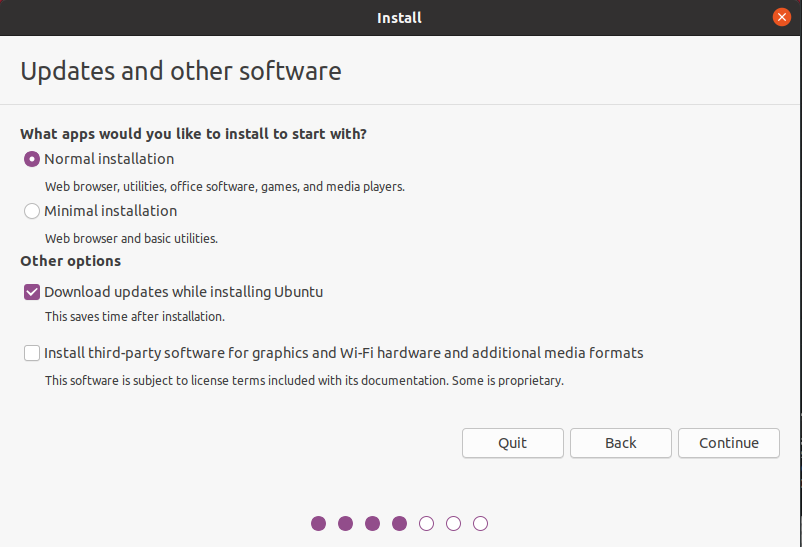
We can leave this as default. Click Continue,
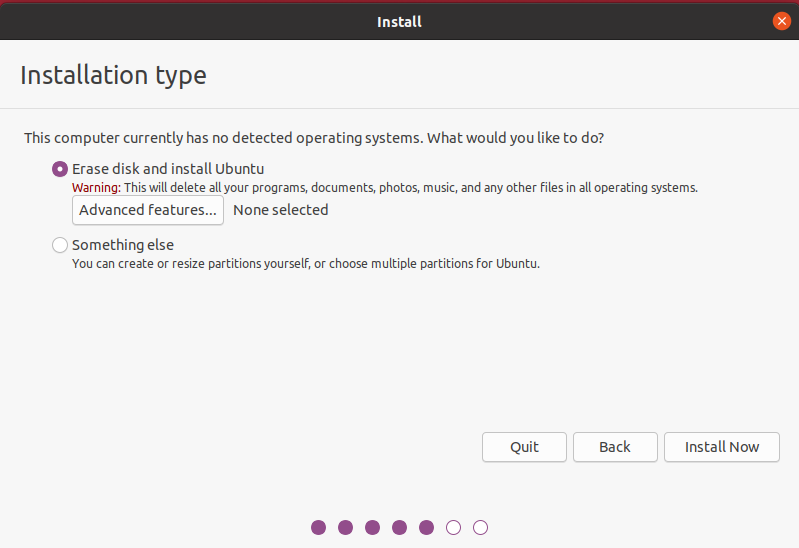
We can leave everything as it is here, Just click on Install Now,
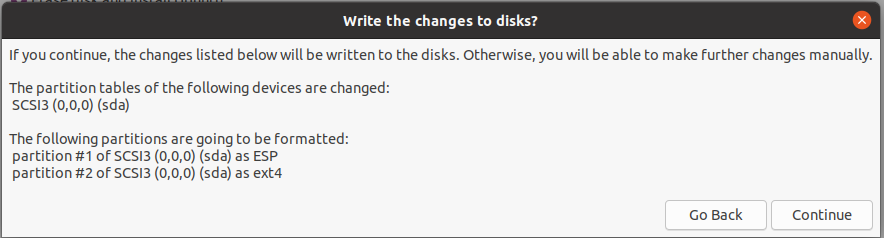
For Legacy installations Ubuntu will create three partitons (sda) as and as EXT4 and SWAP this is because Legacy Booting does not have a ESP aka EFI Partition where the files are held for booting. There is no Swap in screenshots due to installing in VirtualBox.
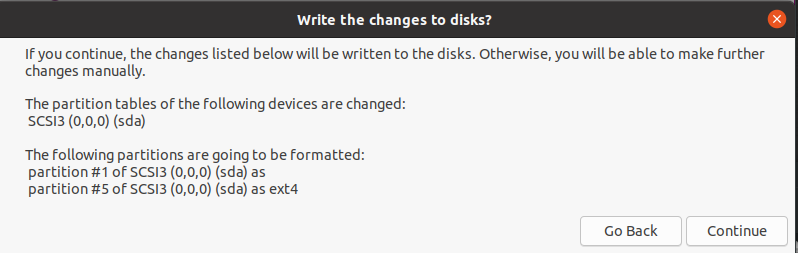
For UEFI you will see a ESP, Ext4 and Swap.
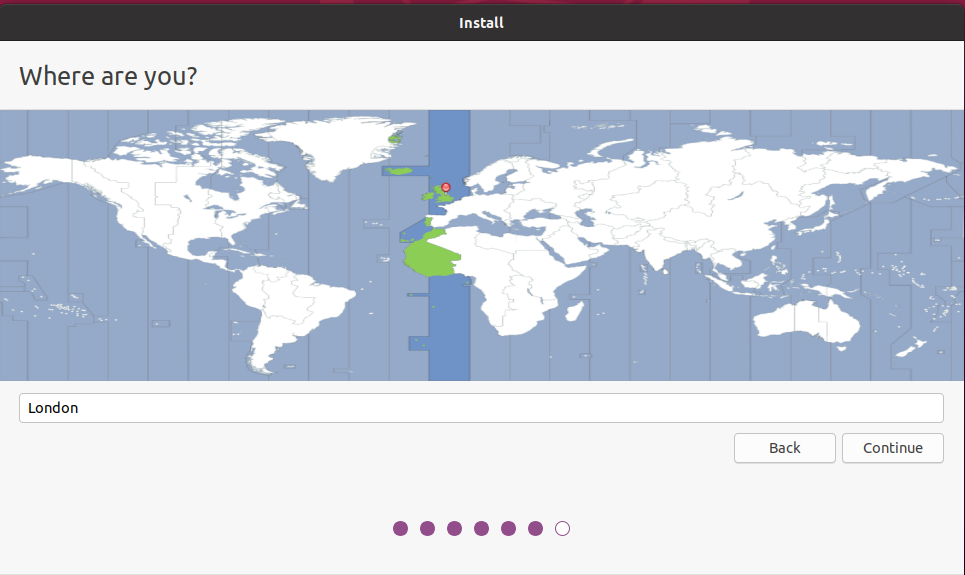
Click on Continue, Select your Country then Continue,
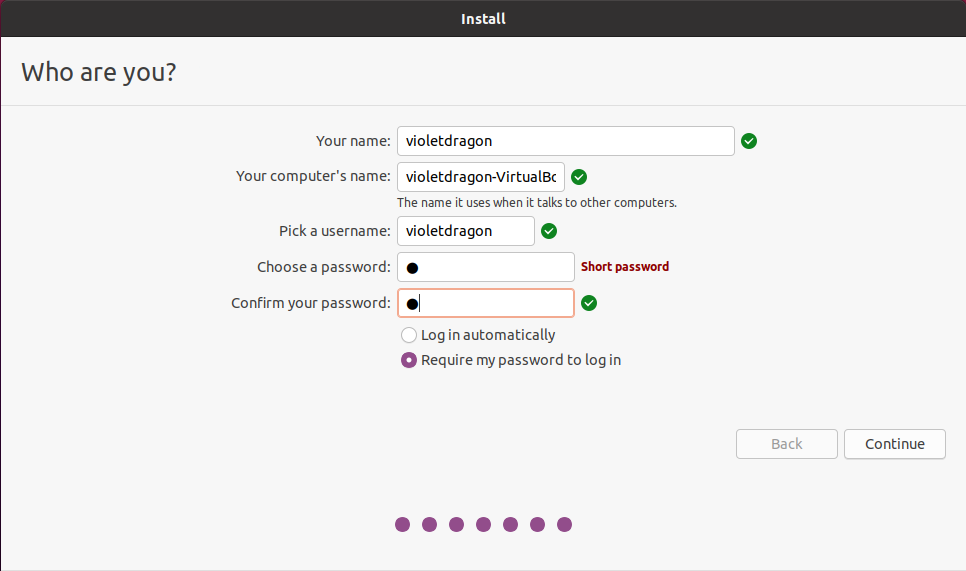
Once you have filled in Your Name, Username and Password you can click on Continue. You will notice that your computer’s name is automatically filled in this is fine but you can change it to as your needs,
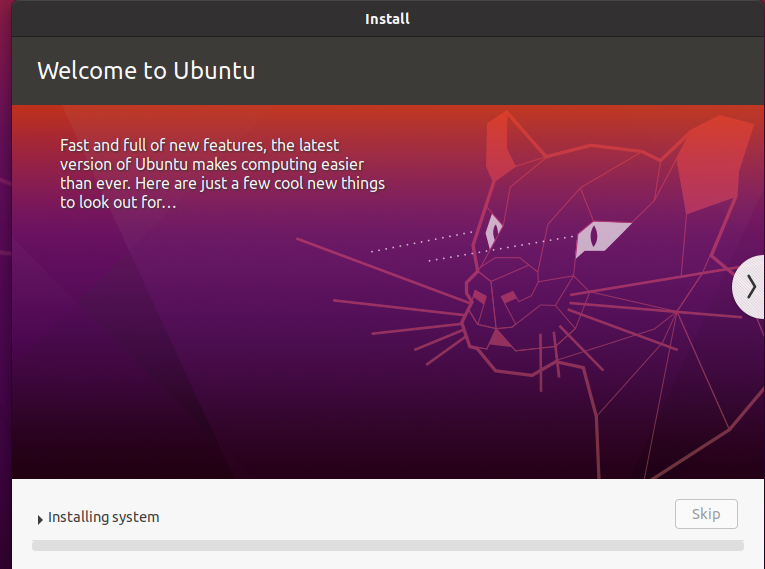
Ubuntu will now install,
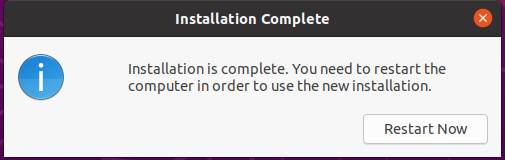
After the Installation is Complete you will be greated with this box. Restart Now,
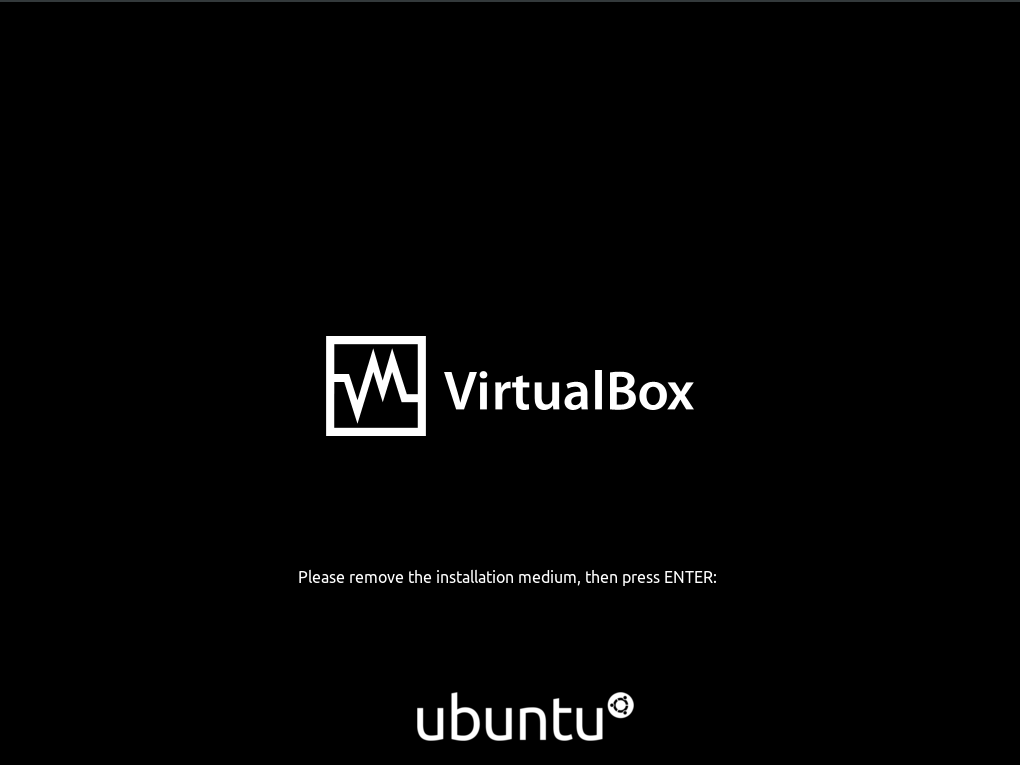
Remove the Pen Drive then hit enter on the keyboard. If you choose to to change the Boot Option in the BIOS instead of using Boot Menu then you will need to go back into the BIOS and change the Boot Priority back to the Internal Drive. If all in success you should be able to get to the Login Screen on Ubuntu.
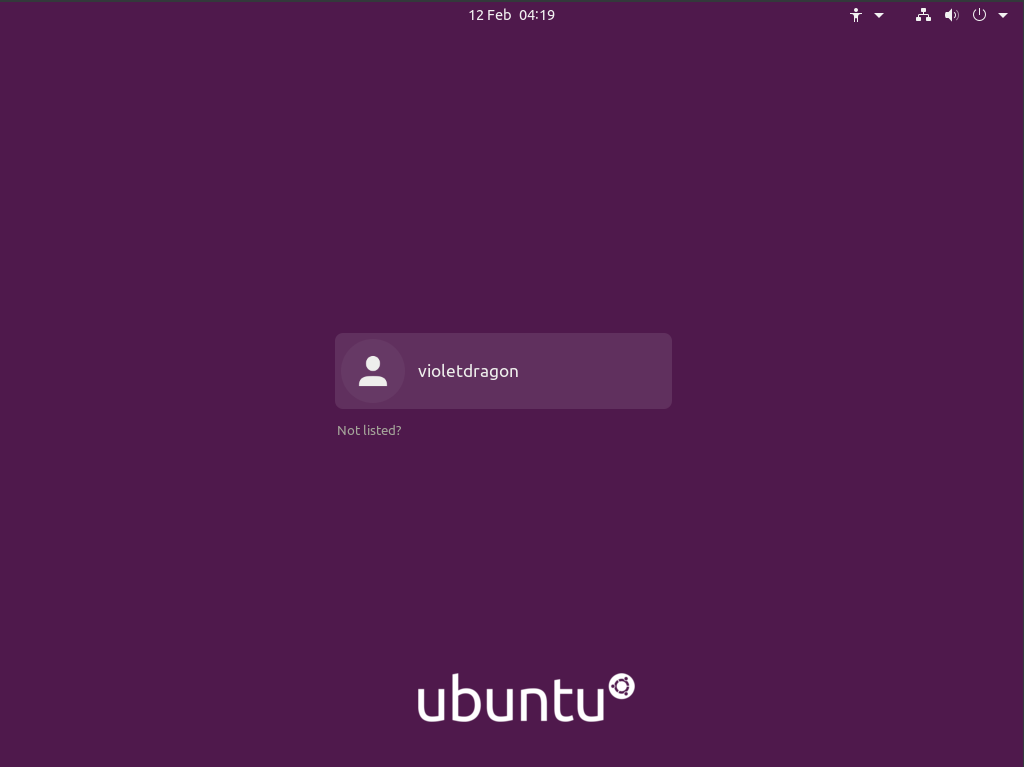
Login and you will be at the Desktop in no time.
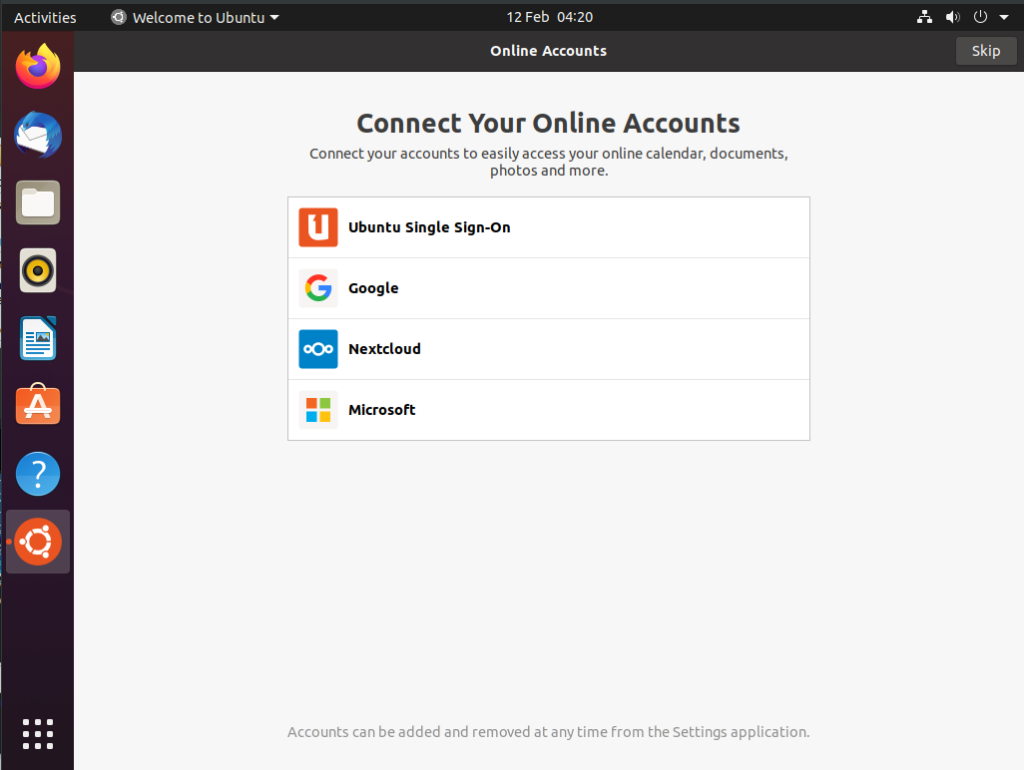
Once you have logged in you will see the dock and Online Accounts Window you can go a head and log in but im just going to Skip it.
You can just click on Next,
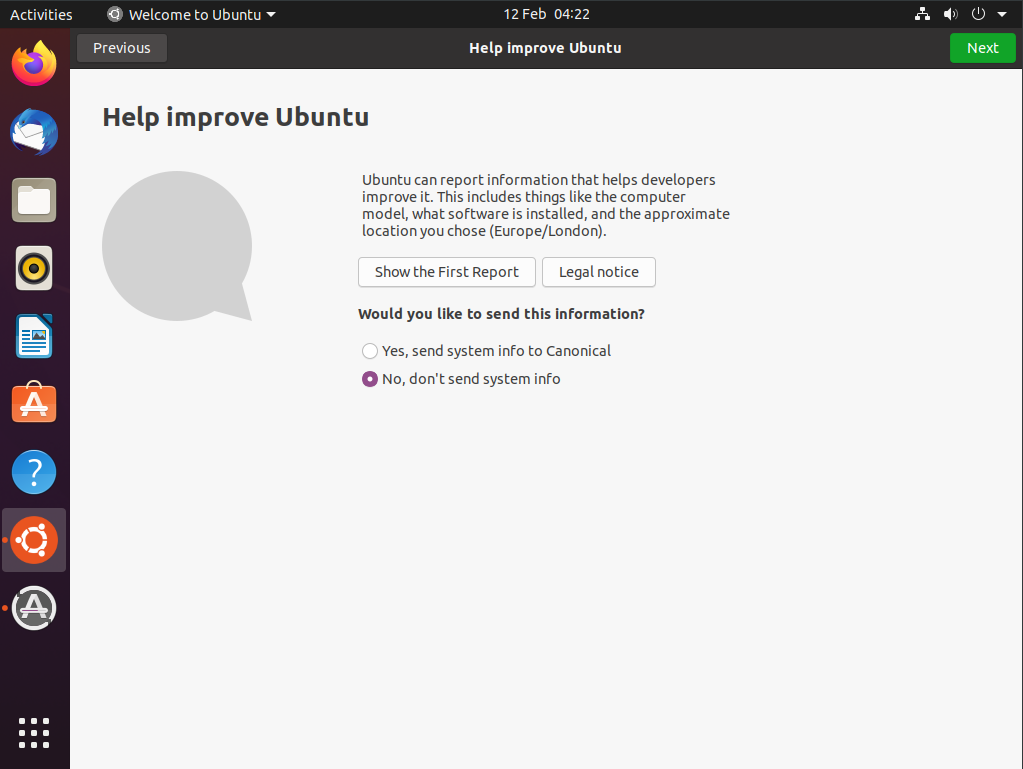
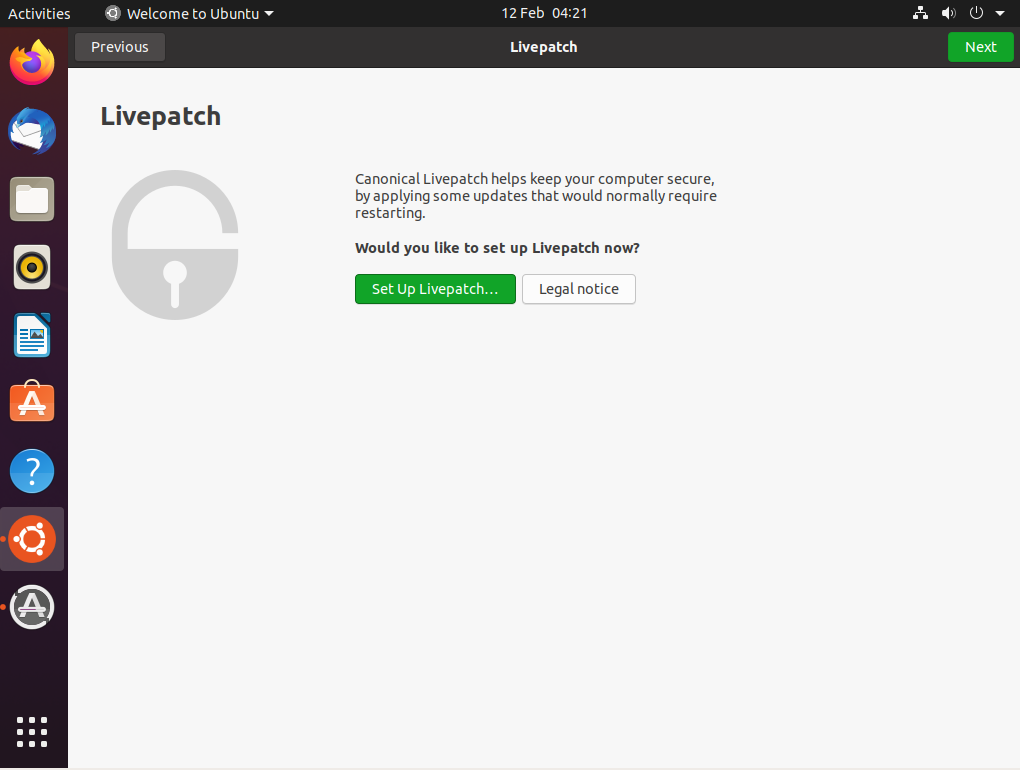
You have a choice if you want to send your Systems Info to Canonical but im going to select No, don’t send system info. Next.
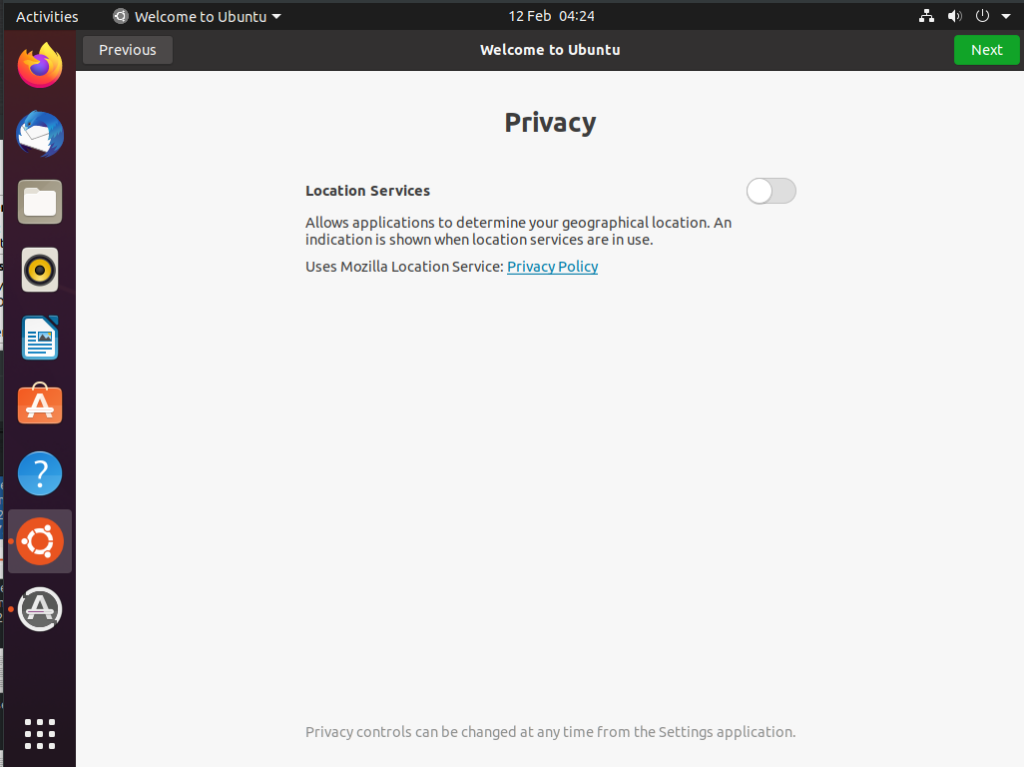
In the next window you will be asked if you want to enable Location Services or not i am just going to leave it disabled then click Next.
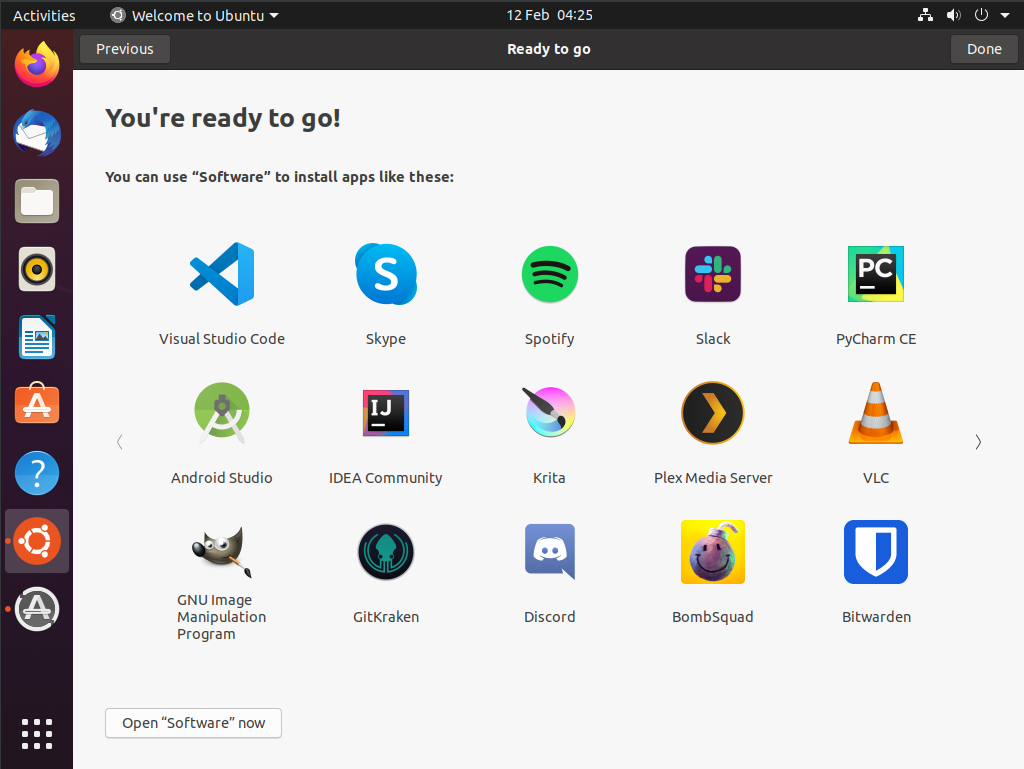
You can click done,
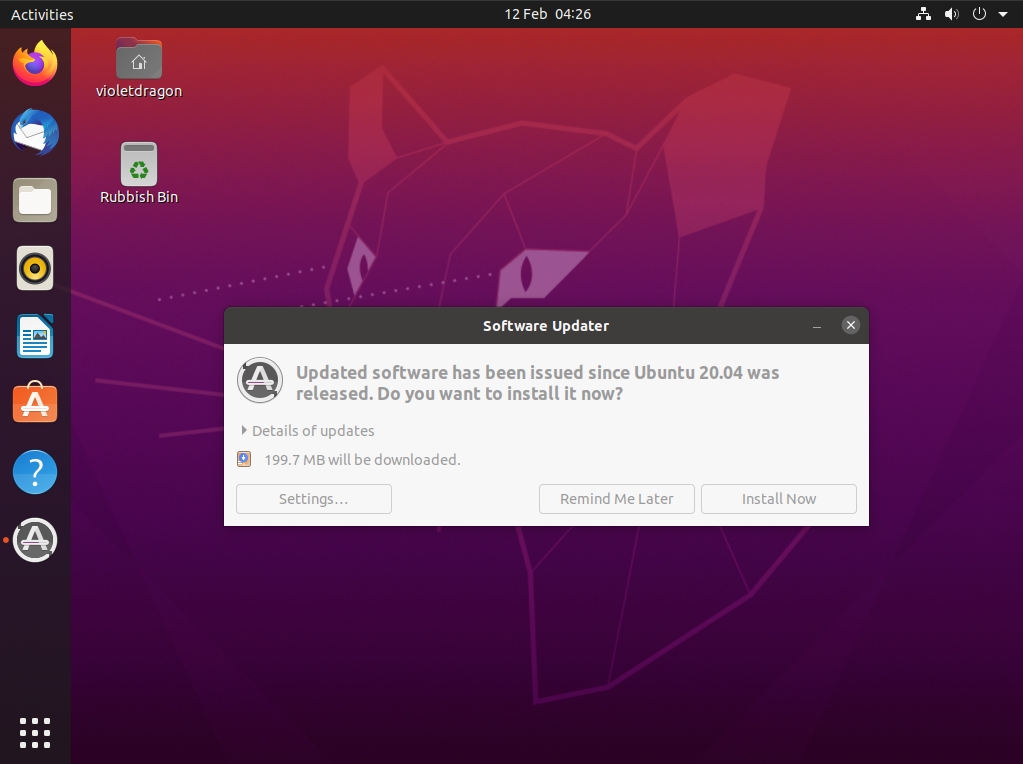
Now it is crucial to update to the latest packages You can click on Install Now but you can do it later if you just want to explore.
I hope this guide helps you. For more guides on Linux take a look at https://www.violetdragonsnetwork.co.uk/?cat=15