Things you will need,
- A Copy of Windows 7 that’s either downloaded from Microsoft or a Genuine Install DVD Disk. Microsoft provides you with Service Pack 1 when downloading from Microsoft Website. Link https://www.microsoft.com/en-gb/software-download/windows7
- A 4GB, 8GB, 16GB or 32GB Boot Stick. In my case i used a 4GB Flash drive in this guide.
- A Computer that is already running Windows 7 or earlier..
- Rufus. Rufus can be downloaded from https://rufus.ie/
Note this guide uses GPT. (GUID Partition Table) for UEFI Hardware. (Unified Extensible Firmware Interface)
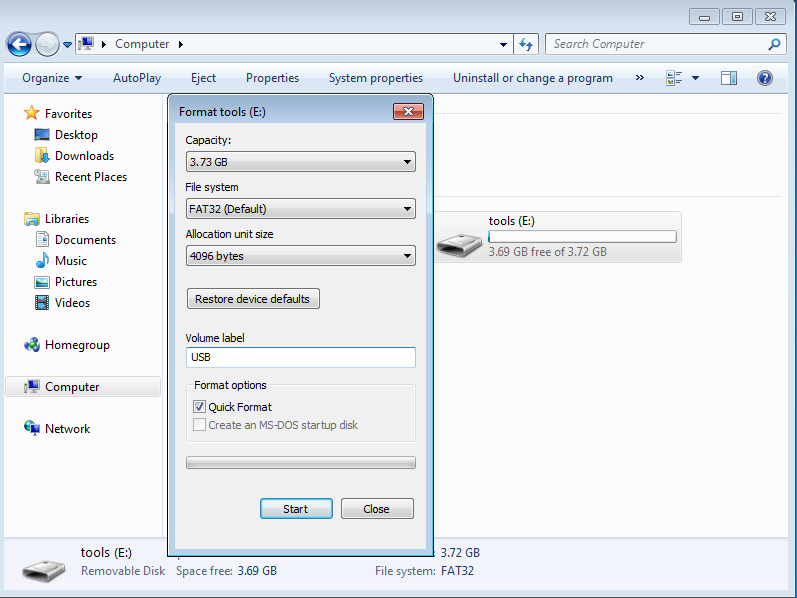
Lets get started. The first thing we need to do is prepare our boot stick i recommend formatting it first before using Rufus,
To format the Flash drive to Fat32. Go into Start, Computer, Right Click on Removable Disk in my case its (E:)
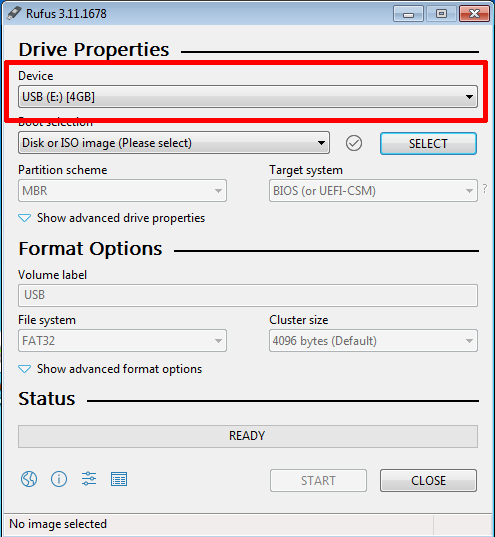
So once you’ve formatted the drive to Fat 32 we can create our Windows 7 UEFI Boot Stick.
Now we need to open Rufus Which will create our UEFI Boot Stick, in Rufus we need to make sure that the Device is pointing to our Pen Drive if not you could end up wiping the wrong Device.
Now we need to point Rufus to the ISO image.
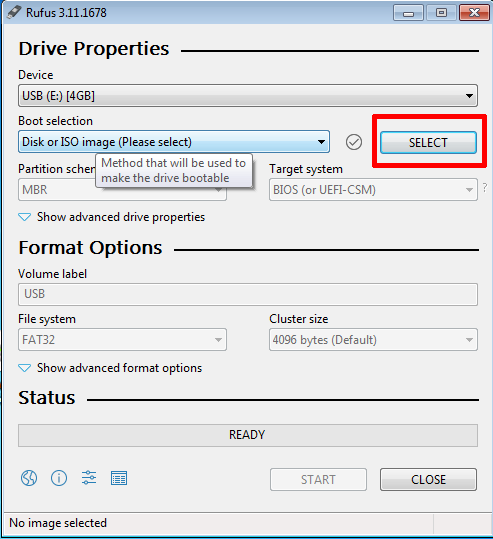
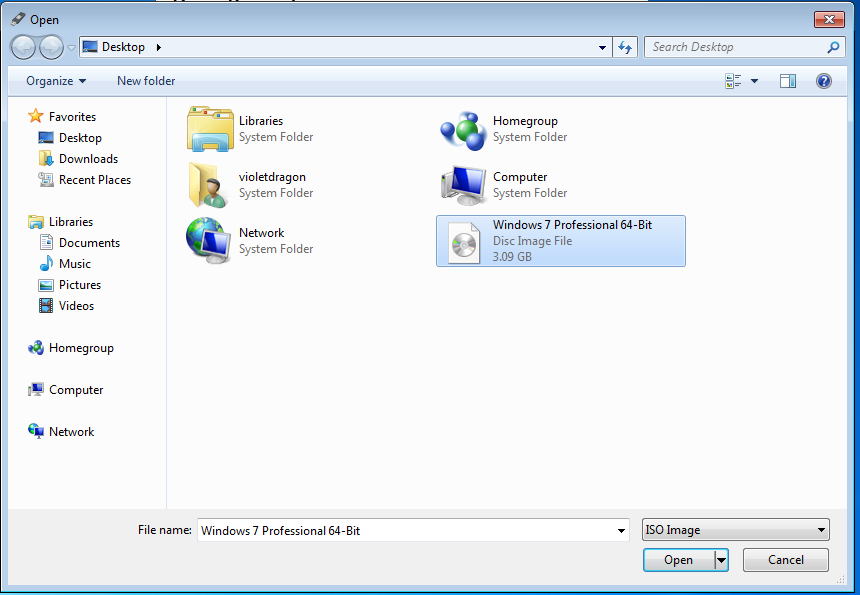
In my case Windows 7 Professional 64-bit is my image that’s downloaded from Microsoft i just renamed it.
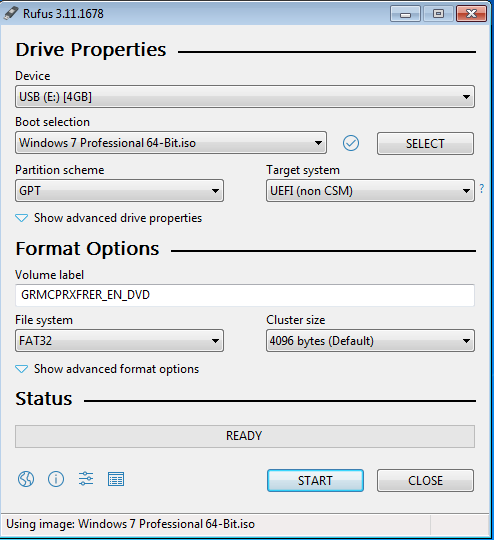
Rufus now has the image but if GPT is not selected by default that means the ISO you have is not Service Pack 1. This can take awhile depending on the speed of the Drive and the machine you are using.
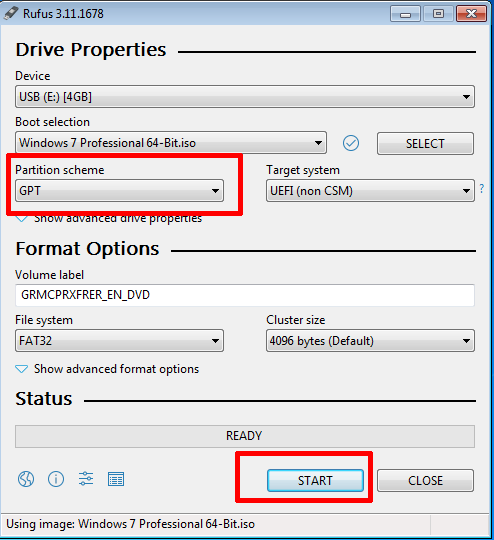
Once Rufus has finished copying over the files to the Boot stick you can now boot from it on UEFI Hardware.
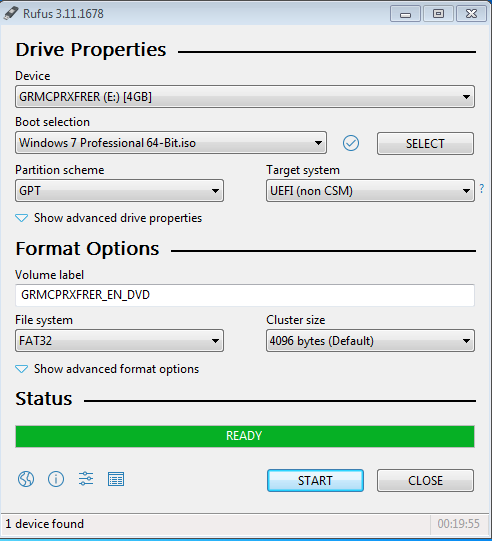
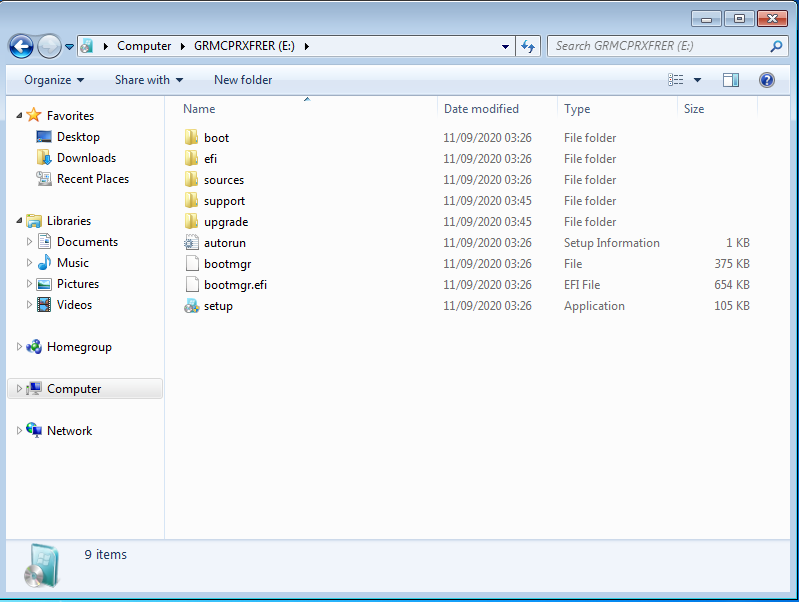
So now once you’ve done that. You’re Windows 7 Flash Drive can now boot.
Enjoy.